|
<< Click to Display Table of Contents >> Viewer |
  
|
|
<< Click to Display Table of Contents >> Viewer |
  
|
In the Viewer, the user can view the scene. You can choose between 3D view, top view and plan view; the different views differ in the kind of representation of the scenes and in terms of camera operation.
In all views, objects can be selected by clicking (several objects are selected by pressing "Shift" + clicking) and manipulated and modified directly in the Viewer (offset, rotation).
Also, you can zoom the current view in or out using the mouse wheel. At the bottom left, there is a coordinate system, which can be hidden by the user.
In all views (except when creating walls), you can change the camera setting by clicking and holding down the right mouse key without needing to activate the "Move camera" tool.
3D view

3D view
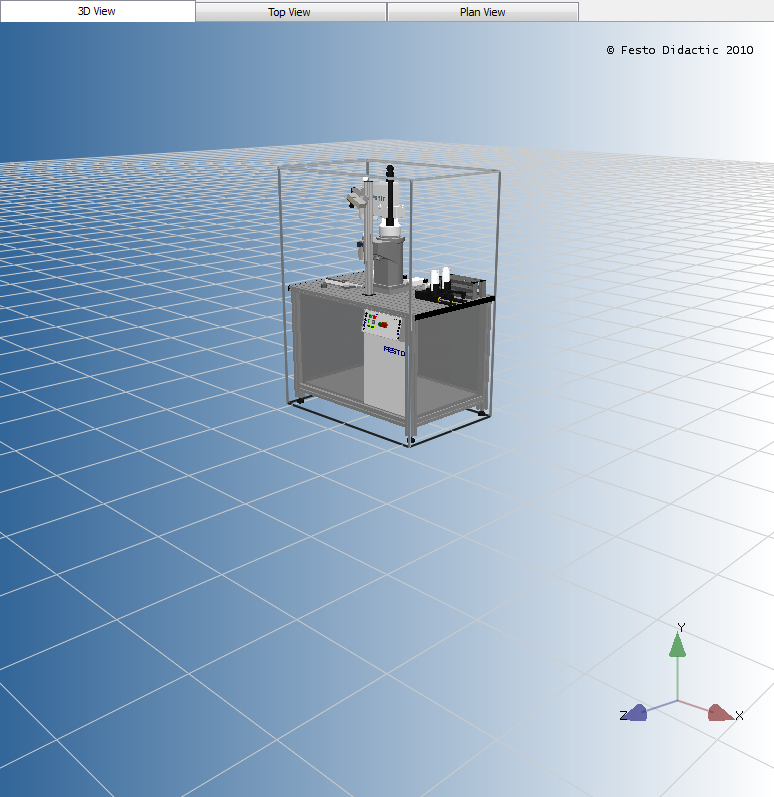
The 3D view shows the scene from a central or vanishing point perspective; the camera can be positioned anywhere in the scene. For positioning, the user can use the "Move camera" tool. By clicking and dragging within the Viewer, the camera can then be positioned as follows:
| • | "Click and drag": move to the front / rear, swivel to the left / right |
| • | "Shift" + click and drag": move to top / bottom / left / right |
| • | "Alt + click and drag": swivel to top / bottom / left / right |
Top view and plan view

Top view
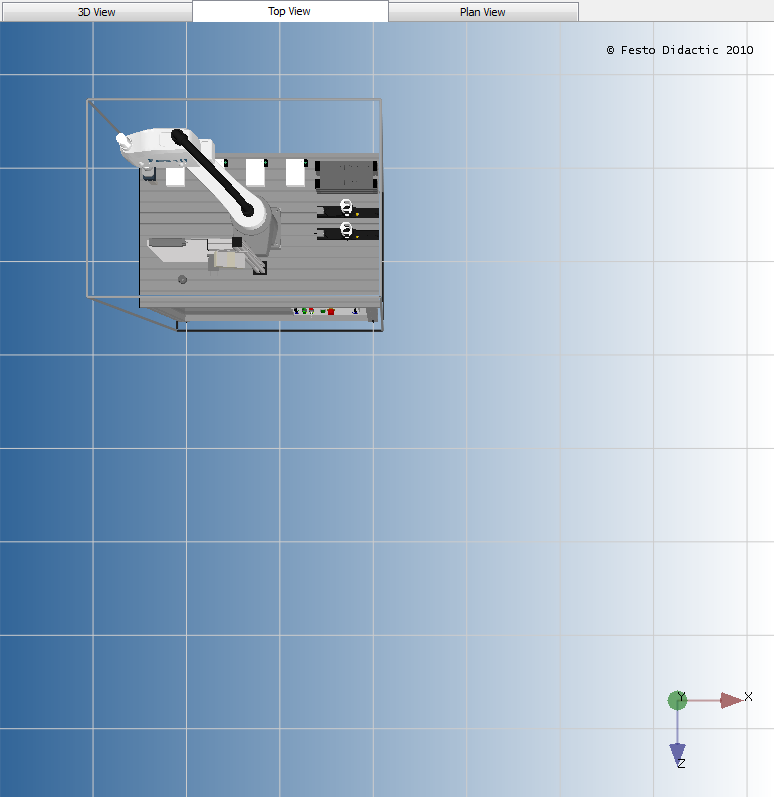
The top view shows the scene from above, from a central or vanishing point perspective. The camera can only be moved freely in X and Y direction by clicking and dragging.

Plan view
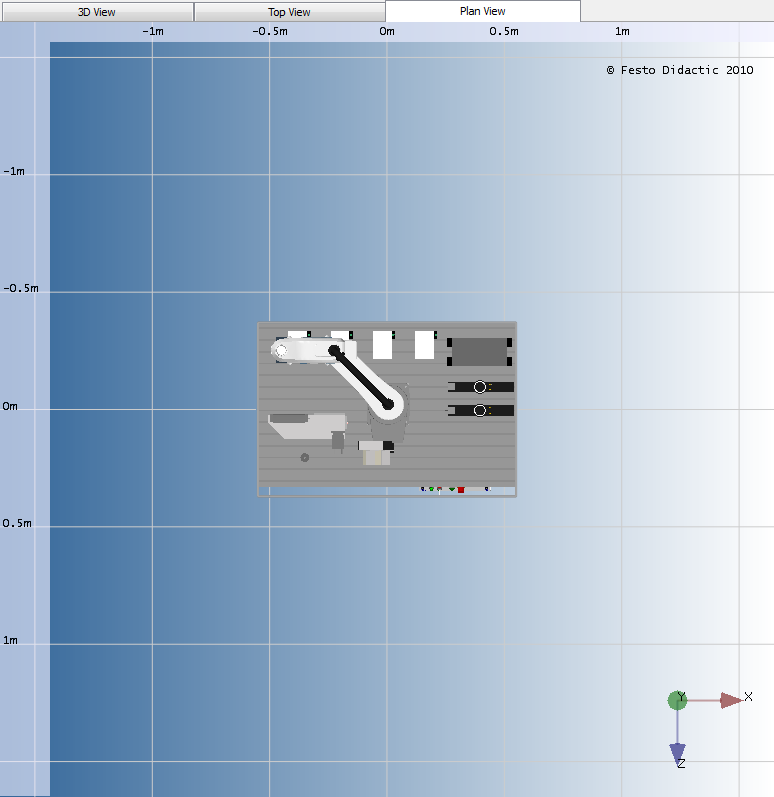
The plan view shows the scene from above, from a parallel perspective. Operating the camera is identical to the top view. There are rulers at the top and sides of the screen which can also be hidden by the user.